Friday, December 9, 2011

Antique Sheet Music Tree

Good morning everyone!  I just don't seem to be able to sleep much past 5 am these past few days, so I thought instead of lying in bed for another morning and looking at my ceiling while asking myself why I can't fall back asleep, I would just get on up and do something productive.  So here I am, about to explain to you how to make one of our antique sheet music trees.  It is really quite simple.  If you do attempt this project, just make sure to use paper that still has some bend.  If your paper is too old, when you fold it, it will tear.

Materials.......

 sheet music

cutting tool

hot glue gun

glue sticks

felt/velvet

tree form

star (optional)

The first step is to cut your sheet music into 1"wide by 4" long strips.  I did not count how many strips I needed for the tree, I just estimated, and then cut more as I needed them.  I think you will be surprised how many strips you will need.  I used my rotary cutter with  a
pinking sheers blade, a self-healing mat, and a straight edge.  However if you do not have these tools, a pinking sheers scissors would work just fine.  Other versions of this tree can be made with plain scissors, or by even folding and tearing the sheets of music to create a soft edge. 
For the sake of time I cut all my strips 1" wide, and then went back and cut them into 4" lengths.


Hot glue velvet onto the bottom of the form tree
Hot glue strips to form starting at the bottom of the tree and working up.
Before you glue on the top layer, glue one 4" strip around the form.  Then cut a small circle out of your sheet music to cover the top of the form; glue.  Once all of the green is covered you can glue the last row of loops to the form.  Because the form is flat on the top I placed a glitter star on the top.
We purchased these stars at Pottery Barn last year, but similar stars can be bought at a craft store.  I love my trees grouped together to create a small forest. 


The same process can be used to create the pine cone trees seen here in this picture.  Instead of cutting strips of paper I pulled individual pine cones apart, then glued the petals to the tree.  Always start at the bottom of your form and work your way up.  Good luck with this project, please send me pictures of your finished trees.


Love,
Rebekah @Woven Home


Tuesday, December 6, 2011

Christmas Trees and Pillows

These past few weeks have been just crazy for us at Woven Home.  The month of November was spent creating inventory for the Winter Market, held the weekend prior to Thanksgiving.  Then at the Winter Market we were asked to bring our Christmas pillows, and accessories to a smaller home market here in Lynchburg.  So these past few weeks have just seemed to fly past us.  (and somewhere in there was Thanksgiving too!)  Now that all of the markets are over,.... or at least until the spring, I thought I would take a moment to show you a couple of the items that we created for these shows.  I hope you like them as much as we do.
Small table trees are everywhere this year.  I have seen them advertised at Potterybarn, Crate and Barrel, and Anthropology.  They are a great addition to your holiday decor.  So we decided to create a couple of our own.  What do you think?  Moving from right to left.  White crochet tree, large pine cone trees, in the far back, an antique sheet music tree then followed by crochet tree, and pine cone tree.  I love these trees grouped together on a table or mantel.  In the next few days I will post a tutorial on the sheet music tree.   Do you see the pillows peaking thru?  Those went to the market too....
I love the "JOY" pillow.  We also made a "PEACE" pillow and a "NOEL" pillow in this size.  The pillow front is on a canvas fabric with a silky embroyery thread.  The back of the pillow is a cream velvet.  They are so simple, and I think they look great in any decor. I can't decide which one is my favorite.   In addition to the pillows and trees we had barnwood signs, woven purses, lavender saches, tassels, and wreaths in all shapes and sizes.  I will try to post more pictures in the next few days.  I hope you enjoyed the small sampling of our products.  I would love to hear from you what you think.....here is one last image from this photo shoot, and I know this image is my favorite.
Love,
Rebekah @Woven Home

Thursday, December 1, 2011

Christmas Decorating -- On a Budget

Oh how I wish I could shop around town and online to my little hearts content buying whatever strikes my fancy for Christmas decorating each year.  Because, I don't know if you are like me or not, but every year my tastes change just a little and I can't help but wanting to change things up.  Enter Pinterest this year and the desire has exploded!  Alas, I do need to have presents under the tree which means my decorating must be on a budget. 

This year I was completely over my neon Christmas tree.  My computer died early this year so I do not have a picture of the tree from last year  but here is one of the chandelier...you can get the jist!

Really... what was I thinking here?!?
I completely 100% changed the tree.  Not a single thing the same on it... but, I only spent $5 on a box of old chandelier crystals snagged at a yard sale!  I had the lace remnants, the hydrangeas were dried from my yard this summer and the twigs were from my yard as well.  I am extremely pleased with the end result and how it compliments my dining room rather than sticking out like a sore thumb.
I am not even close to being finished decorating this room for Christmas but just to give you an idea... can you imagine a hot pink, blue, and purple tree in that corner?!?

So go shop your yards, your scrap fabric pile, and hit up the Goodwill or a yard sale.  Treasures are out there!


Over the next couple weeks we will feature totally affordable and doable Christmas projects from our homes so check back every day and you might just get inspired! 

Kandi

P.S.  Dear Santa, if you read this blog, can you please bring me an amazing camera for Christmas this year... thanks!

Tuesday, November 29, 2011

It is Christmas Time!


I love this time of year.  It brings out the best in those of us who love to feather our nests.  I am inspired by all of the creative ideas I have seen this year, and I have to admit, I have already bought about 20 Christmas magazines (and it is not even Dec. 1).  If that is not enough, I have been on Pinterest non-stop looking for new creative ideas; from children's crafts (I brought this craft into my son's kindergarten class today)....it was so fun especially explaining to the children why you can't see this snowman's eyes.....to beautiful outdoor rooms decorated for the season.

                                   Isn't this room amazing!  This photo is from Traditional Home. 

I have two outdoor spaces, and I can tell you neither look like this, but I can always dream, and someday.....maybe I will have.....something similar.   Here are a few other pictures that have inspired me this season.


This beautiful snowfilled picture on the left (via Pinterest) was the inspiration for my side door Christmas grouping.  I do have to say a had a bit of fun with this grouping, you never know where you are going to find the perfect accent piece; like the metal star.  For those of you who do not know what it is, it belongs with my husband's deep frier, it is the skewer that holds the turkey!  How perfectly it works with my star theme.  A couple of years ago I made the star sap bucket and gave them as gifts to my family, I kept two, and love to move them around my house.  I recently picked up the statue of St. Francis Assisi and the antique sled at an estate sale.


 I cut the stars out of the bucket with a tin snip, painted it in a crackle finish.

Here are a couple other projects I have been working on.....small sheet music christmas trees, mantels, garlands, and pillows, pillows and more pillows. A tutorial on the music christmas tree will follow in the next couple days.

Hope you are enjoying this season as much as I am!
love,
Rebekah

Sunday, November 27, 2011

Transitioning from Thanksgiving to Christmas

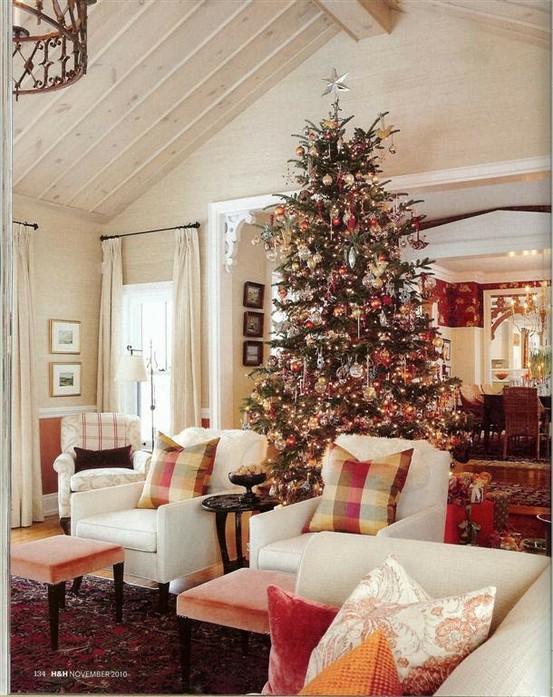
It has been so crazy around my home these past few weeks, that I am getting a little bit of a late start on my transition from Thanksgiving to Christmas.  Many of you reading this post have finished decorating.  My mother is one of you!  I wish I could be that together.  This year has been particularly crazy because we had a booth at the Liberty Winter Market.  I feel like I have been at my sewing machine for the past two months trying to create inventory for our booth.  Now that the market is over I can finally relax and focus on my home.  So here are a few of my inspirations from Pinterest..... 

                                          This picture is from Sarah Richardson's farmhouse. 

Here are a couple of images from my house, I have to apologies for the poor picture quality, I snapped these photos with my iphone this morning.  I am having a hard time taking down my paper bag flowers from Thanksgiving, they are just so simple, and beautiful.  As I said in my last post there is a tutorial on these flowers on 52 mantels.  Instead of folding the four pieces of paper together, I folded the paper individually, and cut of the corners.  Then I hot glued the edges together to create a continuous circle. 


        Vintage Chrismas Ornaments in silver, gold and white complete the transition.


Isn't the sunrise beautiful...this was not planned!  I just bought this planter from Estate Specialist last week, it was only $12!  I just love how chippy it is.  The roses are leftover from Thanksgiving dinner.  I hope your Christmas decorating is going well, and you are enjoying this holiday season!
love,
Rebekah


Thursday, November 24, 2011

Happy Thanksgiving from Lynchburg Va

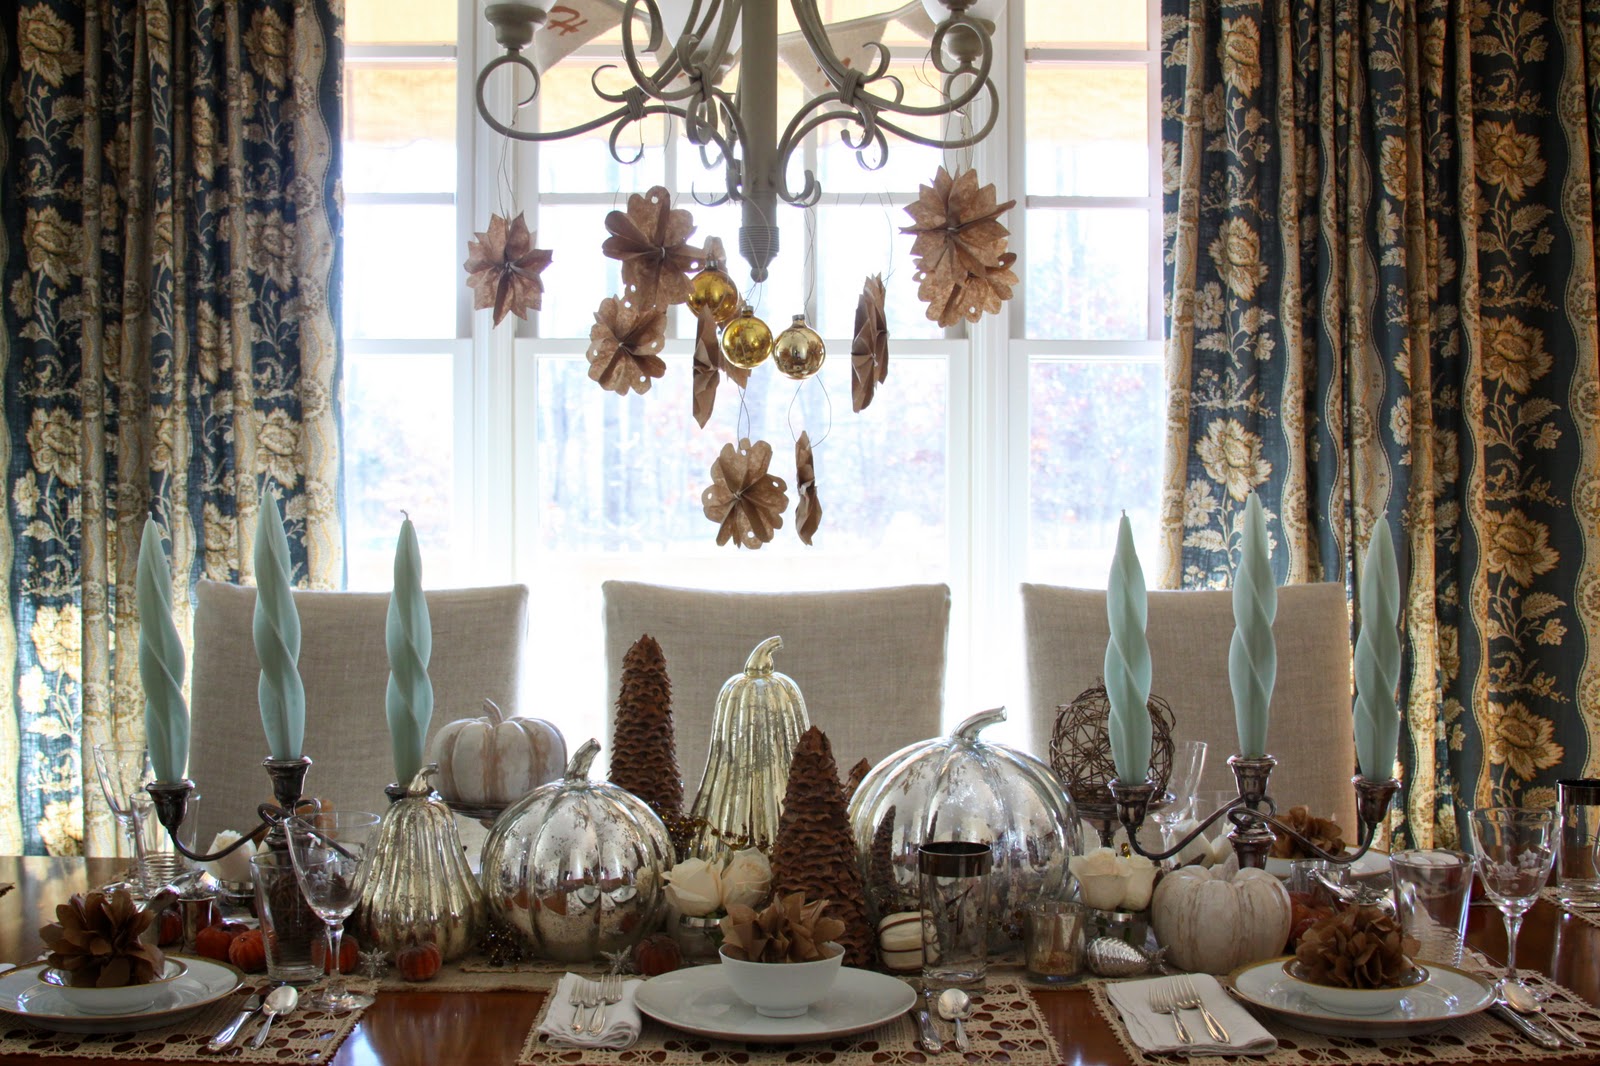
Happy Thanskgiving!  The turkey is in the oven, and our family is on its way.  Here are a couple of pictures of our tablescape this year.  The pumpkins are from Pottery Barn, the paper bag flowers were inspired by 52 Mantels from Pinterest, and the"Give Thanks" banner was one of my creations!  I know the pumpkins were a total splurge, but I compensated for them by making those beautiful homemade paper bag flowers and "Give Thanks" banner.  Every table needs a little glamor mixed with a good deal!  I do love this season...


I love these Pottery Barn Pumkins.  I have used them in several places around my home this fall....including the mantel.  The main thing to keep in mind when decorating a mantel or even your table, add height, depth, and texture in your design.


I like the combination of rustic and time warn treasures mixed with shimming glass. 
I hope your Thanksgiving was filled with friends and family, and lots of joyful moments!
love,
Rebekah

Friday, October 28, 2011

New fabric line to really 'brighten your day!'

It is a foggy and cold dreary fall day in the North Carolina Mountains.  My red maple tree almost looks like a big ball of fire in a plume of smoke.

I ran across a newly launched textile line that put a big bright smile on my face! Caitlin Wilson Textiles launched this line and I am in LOVE with all the patterns and color combinations.  Caitlin says this line was created so all the  "patterns can be juxtaposed for a bold, edgy look".  I am with you Caitlin!  I have samples on the way and am dying to find the perfect place to use them!! 

Related Posts Plugin for WordPress, Blogger...
 
Blog Design by Sweet Simplicity